How to Avoid Damaging Your Paint During Correction Before Ceramic Coating in Setauket in Ceramic Coating Setauket, NY
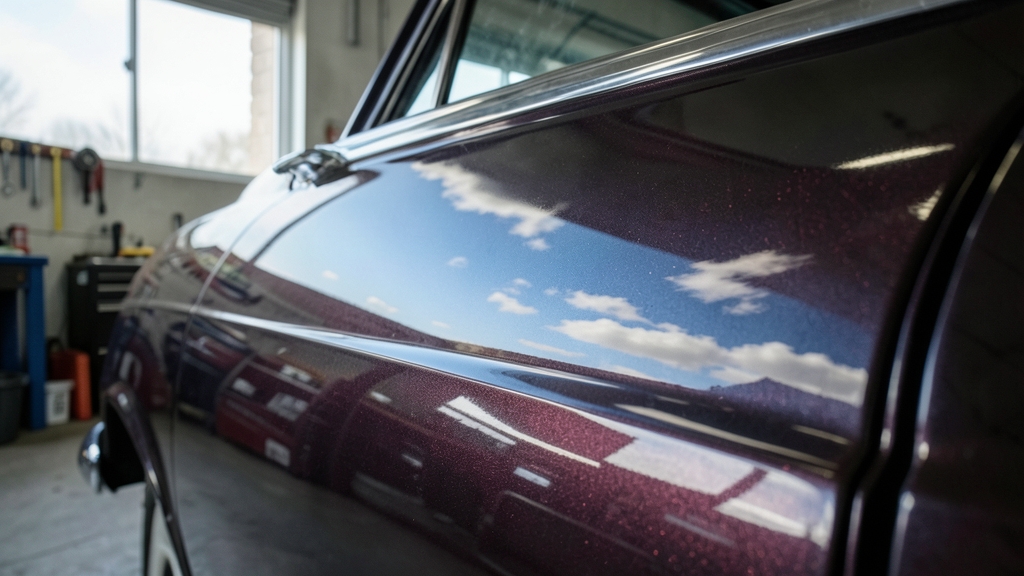
Paint correction is the backbone of a flawless ceramic coating application. Without it, imperfections get locked under the coating forever. We’ve seen too many DIY attempts in Setauket turn into costly repaints because of simple, avoidable mistakes during prep.
Why Paint Correction Is Non-Negotiable Before Ceramic Coating
Ceramic coatings amplify every flaw in your paint. Swirls, scratches, and oxidation won’t disappear—they’ll be permanently magnified under the coating’s glossy finish.
In Setauket’s humid summers and salty winters, paint defects worsen fast. Correction ensures a mirror-smooth surface so the coating bonds properly and lasts longer.
The Most Common Paint Damage Mistakes During Correction
Over-aggressive cutting is the top culprit. Using a heavy compound with a rotary buffer on thin clear coat can burn through to the base coat in seconds.
Skipping a paint thickness gauge is risky. Many older vehicles in Stony Brook or Port Jefferson have thin factory paint—one wrong move and you’re in for a respray.
Dry polishing or insufficient lubrication causes micro-marring and holograms. Always use a dedicated polishing lubricant, not just water.
Setauket’s salt air accelerates paint wear. Always check thickness with a gauge before correction. Anything under 100 microns on edges is a red flag.
Essential Tools for Safe Paint Correction
A dual-action polisher is the safest choice for beginners. Unlike rotary buffers, it minimizes heat buildup and reduces the risk of burning through clear coat.
Invest in high-quality microfiber cutting and polishing pads. Cheap pads shed fibers, creating more defects. We use 5-inch pads for most vehicles, including those from Old Field and Poquott.
A paint thickness gauge isn’t optional. It’s your insurance against turning a correction job into a repaint. Even pros in Centereach rely on them.
Must-Have Correction Tools
- Dual-action polisher (e.g., Griot’s Garage or Meguiar’s)
- Paint thickness gauge (digital preferred)
- Microfiber cutting, polishing, and finishing pads
- High-quality compounds and polishes (diminshing abrasive formulas)
- Spray bottles for lubrication
- Clay bar and iron remover for decontamination
Step-by-Step: Safe Paint Correction Workflow
Start with a thorough wash and decontamination. Use a clay bar and iron remover to pull embedded contaminants from the paint. Skipping this step means polishing grime into the surface.
Inspect the paint under multiple light sources. Halogen lights reveal swirls, while sunlight or LED lamps highlight deeper scratches. This step is critical for vehicles exposed to Setauket’s harsh coastal elements.
Test a small area first. Apply compound to a hidden spot, then check for hazing or excessive marring. Adjust your technique or product if needed.
Compounds vs. Polishes: Know the Difference
Compounds are abrasive and designed to remove paint defects like scratches and oxidation. They cut aggressively but leave behind micro-marring that must be refined.
Polishes are finer and refine the surface to a high gloss. They remove the haze left by compounds but won’t tackle deep scratches. In Setauket, we often use a two-step process: compound followed by polish.
| Product | Purpose | Abrasiveness | Best For |
|---|---|---|---|
| Compound | Remove deep scratches, oxidation | High | Heavy defects, first correction stage |
| Polish | Refine finish, remove haze | Medium to Low | Final gloss, light swirls |
| Finishing Polish | Jewel-like clarity | Very Low | Show-car shine, final step |
How to Handle Setauket’s Unique Paint Challenges
Salt air causes rapid oxidation, especially on hoods and roofs. A light compound followed by a fine polish usually restores clarity without over-cutting.
Water spots from hard water are common in Port Jefferson. These often require a dedicated water spot remover or a light compound, depending on depth.
Bird droppings and tree sap etch into clear coat quickly in our climate. Address these immediately with a clay bar and polish to prevent permanent damage.
After correction, always use a pH-neutral car soap for washes. Setauket’s tap water is hard—rinsing with a water filter or de-ionized water prevents new water spots.
When to Call a Professional for Paint Correction
If your paint thickness reads below 100 microns in any area, leave it to the pros. We’ve corrected many vehicles in Centereach and Old Field where DIY attempts went wrong.
Deep scratches that catch your fingernail often require wet-sanding—a high-risk step for amateurs. Mistakes here are irreversible.
If you’re unsure about the process, a professional detailer can ensure your paint is prepped perfectly for ceramic coating. It’s a small investment for long-term protection.
Post-Correction: Prepping for Ceramic Coating Application
After correction, the surface must be 100% clean and contaminant-free. Use a panel prep spray or isopropyl alcohol wipe-down to remove polishing oils and residues.
Inspect the paint one last time under bright lights. Any missed defects will be sealed under the coating. This step is non-negotiable for vehicles in Setauket’s demanding climate.
Allow the paint to cure for at least 24 hours before applying ceramic coating. This ensures all solvents from the polish have evaporated.
How to Clay Bar Your Car Before Paint Correction
Decontaminating the paint is the first critical step to avoid scratching during correction.
- 1Wash the Vehicle
Start with a thorough wash using a pH-neutral car soap to remove surface dirt. Dry the car completely with a microfiber towel.
- 2Spray Lubricant
Mist a clay lubricant or diluted car soap over a small section of the paint. This prevents the clay from sticking and causing marring.
- 3Gently Rub the Clay Bar
Using light pressure, glide the clay bar back and forth over the lubricated area. The clay will pick up embedded contaminants.
- 4Inspect and Repeat
Wipe the area with a microfiber towel and inspect for smoothness. Repeat until the entire vehicle is decontaminated.
- 5Final Rinse
Rinse the car again to remove any residual lubricant or loose contaminants. Dry thoroughly before moving to correction.
Frequently Asked Questions
Can I ceramic coat my car without paint correction in Setauket?
Technically yes, but the results will be lackluster. Ceramic coating locks in existing swirls, scratches, and oxidation. In Setauket’s climate, these defects will only worsen over time under the coating. Correction ensures a flawless, long-lasting finish.
How do I know if my paint is too thin for correction?
Use a paint thickness gauge. Readings below 100 microns on any panel are a warning sign. If you’re unsure, consult a professional detailer serving Stony Brook or Port Jefferson. We’ve seen many DIY jobs go wrong due to misjudging paint thickness.
What’s a good polisher for beginners in paint correction?
A dual-action polisher is the safest choice. Brands like Griot’s Garage, Meguiar’s, or Chemical Guys offer user-friendly models that minimize the risk of burning through clear coat. Avoid rotary buffers unless you have experience.
How often should I reapply ceramic coating after correction?
A professional-grade ceramic coating lasts 2-5 years, depending on maintenance and exposure to Setauket’s elements. Regular washing with pH-neutral soap and annual inspections help extend its life. Reapplication isn’t needed unless the coating degrades or you want to refresh the gloss.
Does paint correction remove all scratches?
It depends on the depth. Light swirls and shallow scratches can be fully removed with compound and polish. Deeper scratches may require wet-sanding or touch-up paint. In Centereach and Old Field, we often combine correction with paint protection film for severe defects.
Is paint correction necessary for new cars in Setauket?
Even new cars can have swirls from dealer prep or transport. A light polish often enhances gloss and ensures the ceramic coating bonds perfectly. It’s a small step that pays off in longevity and appearance.